Showing posts with label SCCM 2012 Installation. Show all posts
SQL Server Reporting service

In Configuration Manager , the reporting service point communicates with SSRS(SQL Server Reporting Service)to copy the SCCM reports to a specified folder. Reporting service role plays a major role in configuration Manager 2012 for pulling organised information about inventory, application deployment, patching and  software mettering data.  Configuration Manager provides report definitions for over 450 reports in over 50 report folders, which are copied to the root report folder in SQL Server Reporting Services during the reporting services point installation process. The reports are displayed in the Configuration Manager console and organized in subfolders based on the report category.
Before proceeding with the configuration,
1. Make sure SQL Server Reporting service installed
2. Make sure the connectivity of Reporting Services with site database.
SQL Server Reporting service installation
To verify the SQL server reporting service installation in  windows server 2008, click Start ->click All Programs-->click Microsoft SQL Server 2008 R2-->click Configuration Tools --> click Reporting Services Configuration Manager.
To verify the SQL server reporting service installation in  windows server 2012, Just serach for Reporting Services Configuration Manager in Search column.
If  Reporting Services Configuration Manager is not found run the SQL setup and proceed with installation of Reporting services Configuration Manager. Else, open the Reporting service configuration manager and start working with the connectivity verification.
Make sure the connectivity of Reporting Services with site database
Click, Reporting services Configuration Manager
Provide SQL server name and instance name to connect.
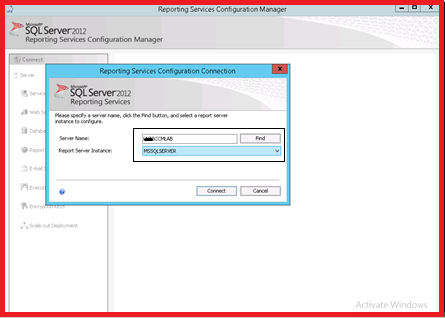
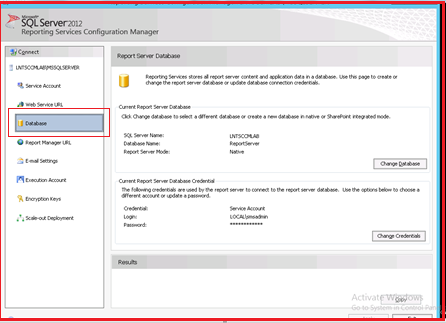
Once you connected, Make sure the Report server mode is Native and and reporting service is up and running , else start the reporting service.
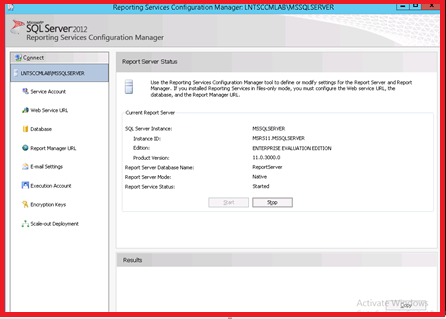
Make sure the database Name and service account that connects the Database .
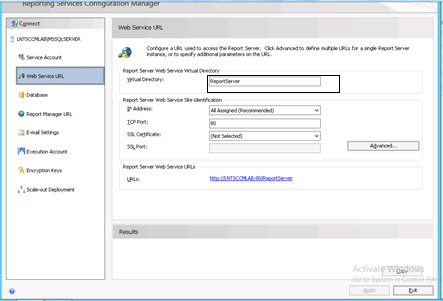
Specify the virtual Directory  and configure a URL to access the Report server . If you have created any SSL certificate for authentication, mention it in SSL certificate column , else proceed with default.
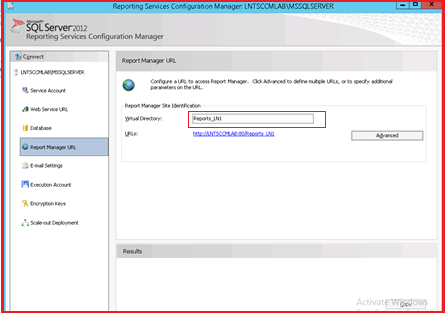
Configure a URL to acess report Manager , So that You can use this URL in future to add folders or to create custom SQL reports by accessing Report Manager .
Once the verification and configuration from SQL Server Reporting service done, proceed with the installation of Reporting Service point configuration Manager role.

Installation of Reporting Service Point
 
To manage report reporting site role must be installed. The reporting services point copies report folders and reports to SQL Server Reporting Services and it applies the security policy for the reports and folders, and sets the configuration settings in Reporting Services.The reporting services point is a site system role that must be configured on a server with Microsoft SQL Server Reporting Services installed and running .
Installation of Reporting Service Point
  1. Run SCCM site role installation Wizard
  2. Skip the Proxy tab, if you don’t have proxy environment
  3. Select the Reporting Services point role to install


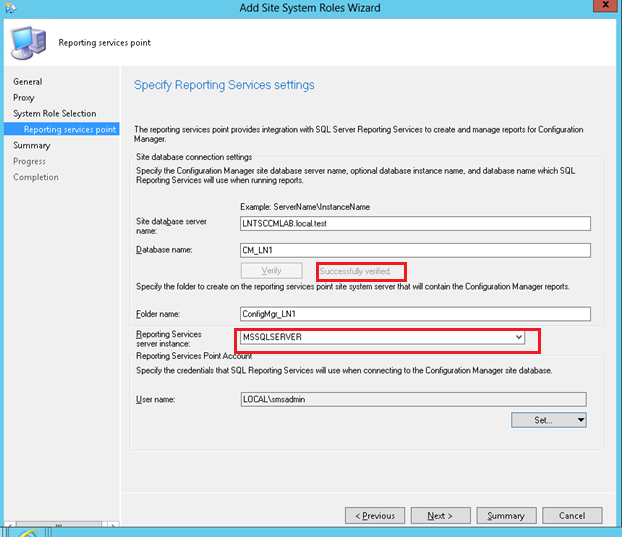
Mention the site database server and database name, run the verification wizard and check for successful verification.
Specify the folder to create on the site system server reports that will contain the SCCM 2012 reports.
Select reporting server instance name, if the instance name is not available, then the SQL server reporting service is not running/installed.
Specify the user name that have read access to configuration manager database.
Click Next
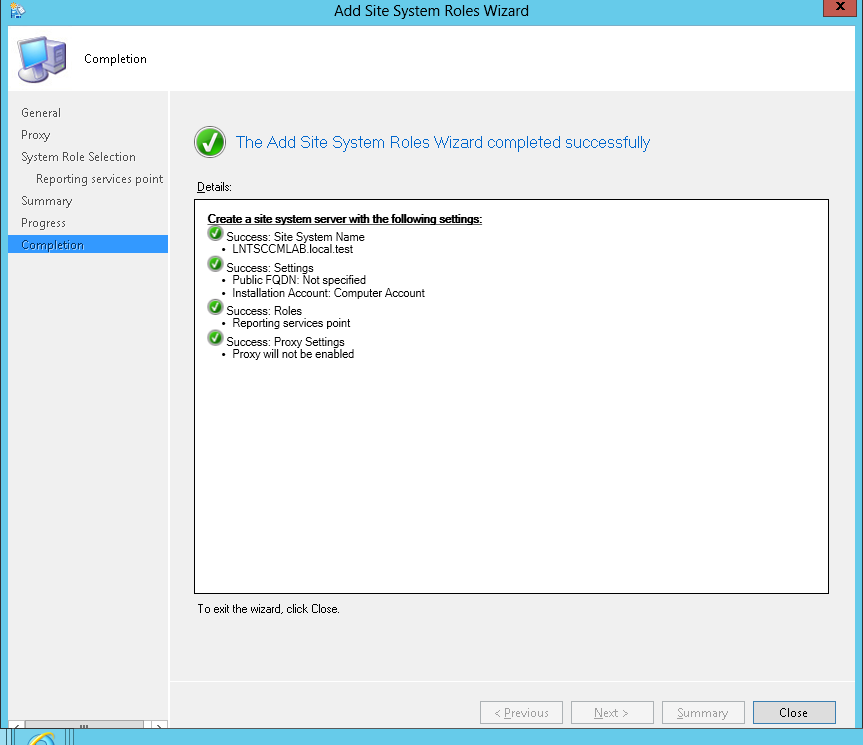
After the successful installation wizard , verify the site server logs
Related logs found under \\SCCMServer\CCM\ Logs
srsrpMSI.log
srsrpsetup.log  

srsrpsetup.log  
Check for the below successful log entry
Installing C:\Program Files\Microsoft Configuration Manager\bin\x64\srsrp.msi SRSRPINSTALLDIR="C:\Program Files\SMS_SRSRP" SRSRPLANGPACKFLAGS=0
srsrp.msi exited with return code: 0 ,Installation was successful.
srsrpMSI.log
Check for below log entry in srsrpMSI.log
Windows Installer reconfigured the product. Product Name: ConfigMgr Reporting Services Point. Product Version: 5.00.7804.1000. Product Language: 1033. Manufacturer: Microsoft Corporation. Reconfiguration success or error status: 0.
After the successful installation , verify the reporting tab in configuration Manager console. The report manager and report server url can be seen .click on the Report Manager link and make sure the folders you have created is found and it has all the inbuilt SCCM reports found in consle.

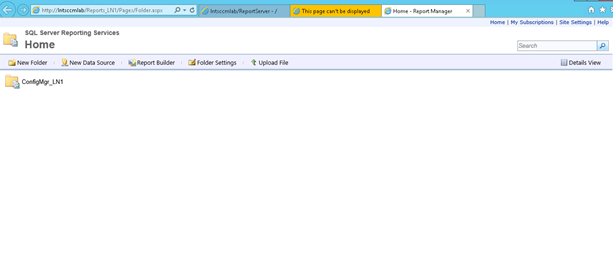
Click the folder and view the report .
Thanks Guys!! I will continue with creation of custom report in next post.


Maintenance windows is nothing but a time frame set by administrative users to carry out the operational activities related to configuration Manager on members of a device collection. The reason for setting up maintenance window is to avoid the delay in productivity of the organization due to configuration manager operational task such as installing updates, application, packages, rebooting machines etc.
Maintenance windows are configured for a collection with a start and end date with accurate timing. It is also possible to set a recurrence pattern. Each maintenance window must have duration of less than 24 hours. By default, Machine reboot caused by a deployment are not allowed outside of a maintenance window, but you can override the default in the settings for each deployment. You can also set the deployment to run in maintenance window but the download action to run outside of the maintenance window.
The following Configuration Manager operations support maintenance windows:
  • Software deployments
  • Software update deployments
  • Compliance settings deployment and evaluation
  • Operating system deployments
  • Task sequence deployments

If we set two maintenance windows and if both the time overlaps, then configuration Manager will assume it as single window encompassing the time period covered by both maintenance windows.
How to set up maintenance window?
Create a collection, for the group of machine you are intended to create specific maintenance window time frame.
Once collection Created, right click the collection > Properties
In maintenance window tab, click the yellow label as highlighted in below figure.
Mention the name, date, time frame and apply this schedule as per your needs like Deployment, Task sequence, software updates etc.


Hope this Helps!! Thanks for reading. If you have any questions, please post it below.


The main intension to built System Center 2012 Endpoint Protection on Configuration Manager is to create a single infrastructure for deploying and managing endpoint protection. In previous version (SCCM 2007)System center Endpoint protection was not associated with sytem center configuration manager product. Some of the features that we achived by associating SCEP with configuration manager are mentioned below


1. Central administration for deploying and configuring the Endpoint Protection client.
2. Default antimalware policies can be deployed to groups of computers.
3. Security roles for managing antimalware polices can be managed/controlled
4. Security settings like Windows Firewall changes can be deployed to group of computers
5. Scan and status reports can be genrated easily by configuration manager
6. The endpoint protection client can be updated by monthly patch cycle using SCCM endpoint definition updates
7. Security roles for managing antimalware polices can be managed/controlled
8. Notification can be set via configuration manager for malware compliance computers
9. Scan and status reports can be genrated easily by configuration manager


How to setup and deploy System center Endpoint Protection?


The SCCM 2012 site role responsible for setting up Endpoint protection feature is Endpoint Protection Point . This role should be installed and configured in Central administration site or standalone primary site . In addition to this, Software update point should be configured to deliver definition updates if you want to use Configuration Manager Software updates to deliver definition and engine updates. With this entire prerequisite create client antimalware policy to manage Endpoint protection settings.


Deploying system center Endpoint protection has few steps as mentioned below


Installation of Endpoint Protection Point configuration Manager Site role
Select Add new site role
Mention the server Name, where you want to install EP role, this should be installed in standalone primary site or Central administration site.
Ignore this check box and hit Next , if you are not synchronising information from the internet .
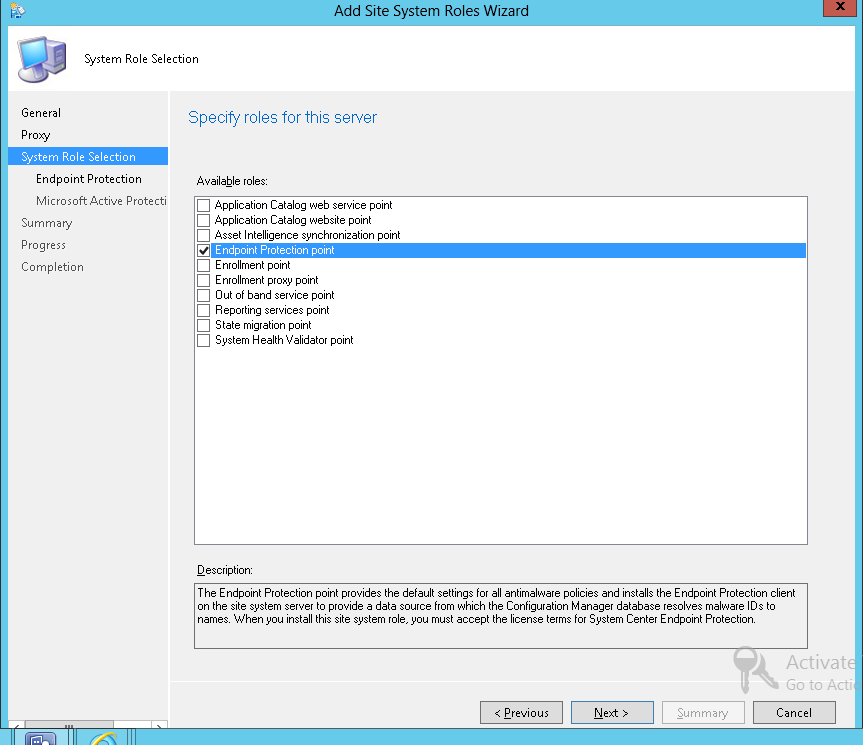
Select The role , Endpoint Protection Point
Click OK,
Accept the license
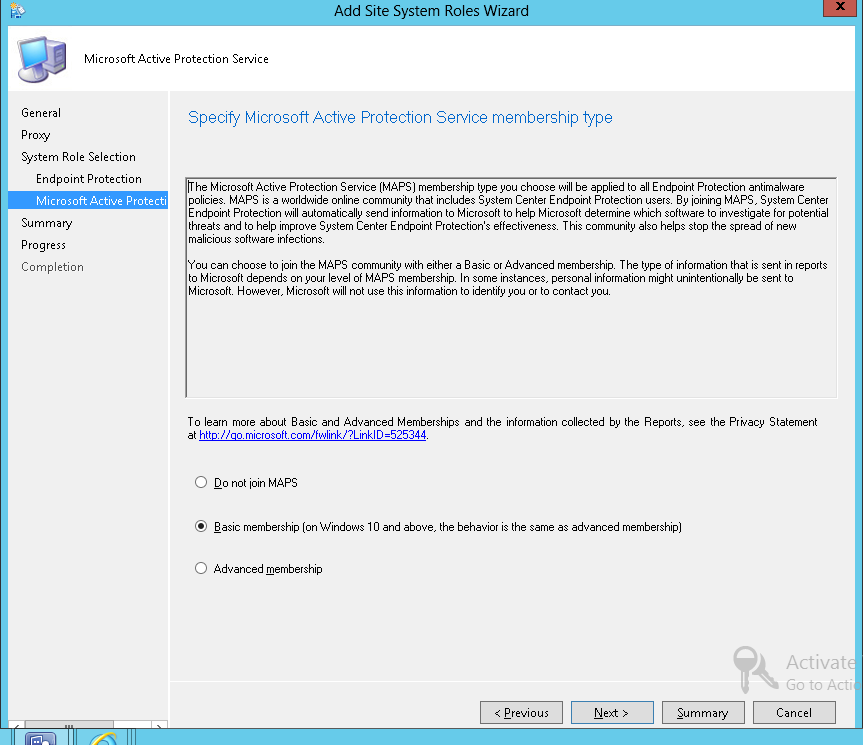
Select Baisc Membership (it will send low level information to microsoft if found any errors)

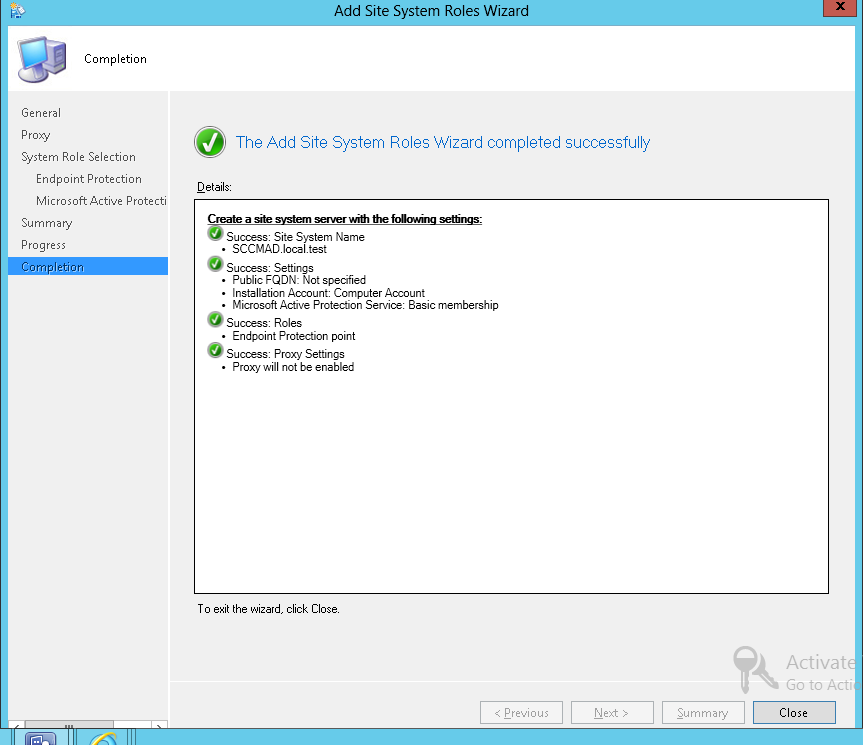
Click Next and Finish.
We are done with Endpoint protection point role installation.
EPsetup.log – Log to verify the Endpoint protection setup installation. If installation succeeds ,you should be able to see log entry like “lnstallation was successful”
Thank you guys! Let me continue Part 2 and in my Next Post Creation of new Custom device  and antimalware settings for Endpoint Protection.

For Part 2 of the process click here

Hi Guys, Hope you have gone through the part 1, Installation of Endpoint Protection Point configuration Manager Site role. 

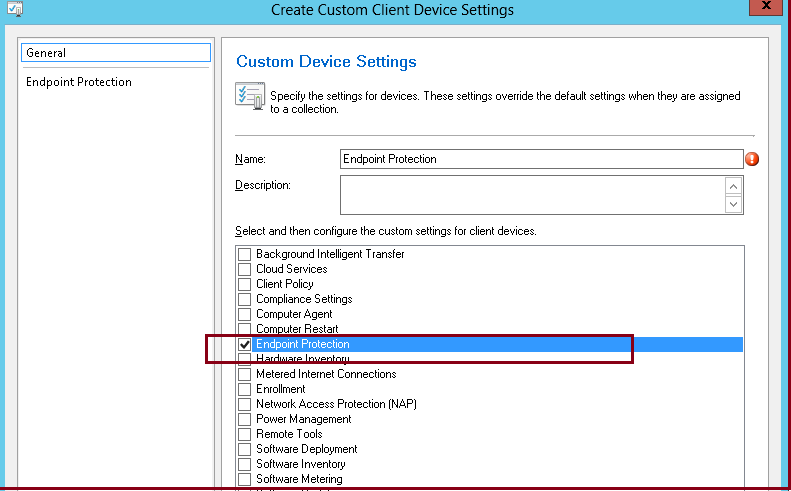
Right click Client setting > Create new custom device settings
Select Endpoint Protection and click ok
Now ,open the properties of newly created client setting.
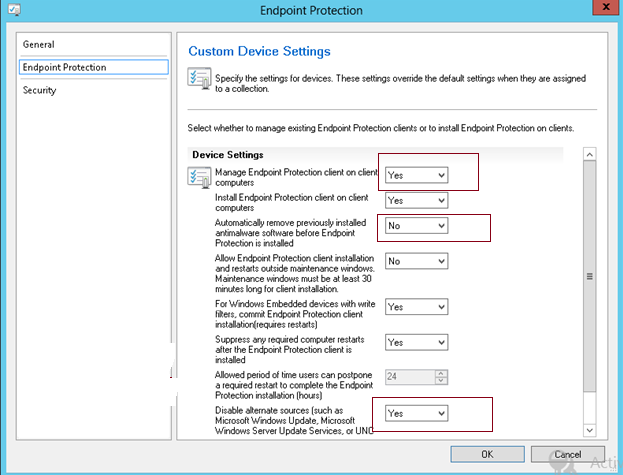
Select Endpoint protection tab and customise as below .
Click OK
we successfully created new client setting for Endpoint protection.
Now Deploy the newly created client setting to the collection ,where we are going to push system center endpoint protection .
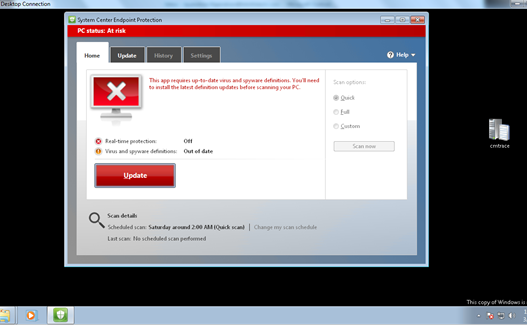
Once you deployed , you should be able to see System center endpoint protection in client machine part of the deployed collection .

Of Part 3 of the process click here


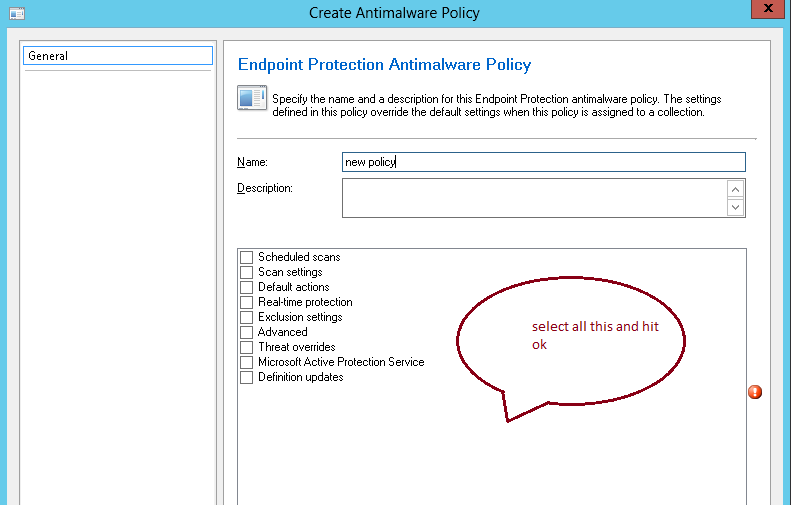
Right click Antimalware policy found in Assest and compliance tab, and create Antimalware Policy
Select all the settings and provide a name for the new settings.

Click properties of Newly created setting and change the definion updates and Scan settings as per your environment.
In Definiton updates, click set Source
Select Updates distributed from Configuration Manager and hit OK


for part 4 of the process click here

Now its time to push updates for Endpoint Protection . Let us create Automatic Deploymnet rule for installing Endpoint protection updates in all necessary  client machines.  Before the creation of automatic deploymnet rule, we have to make sure the presence of definiation updates metadata in software updates. Else , we have to follow below procedure to sync WSUS against Microsoft catalog.
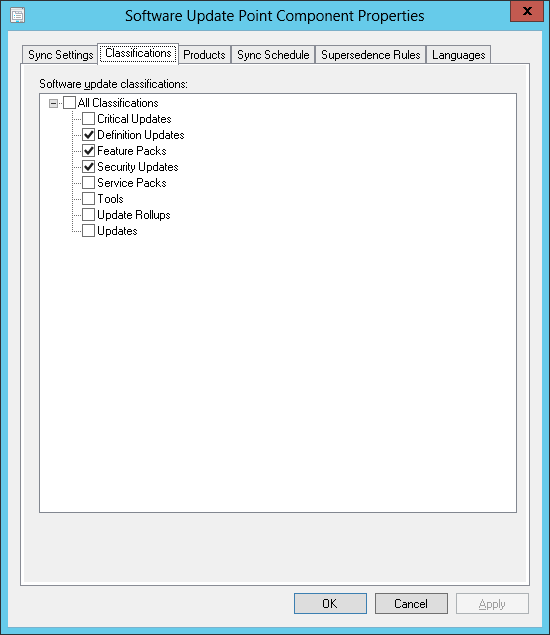
Select Administration > Sites > Configure Site Component > Select Software Update Point

Check Definition updates in Classification tab

In Product tab, Select Forefront Endpoint Protection 2010
Click Ok .
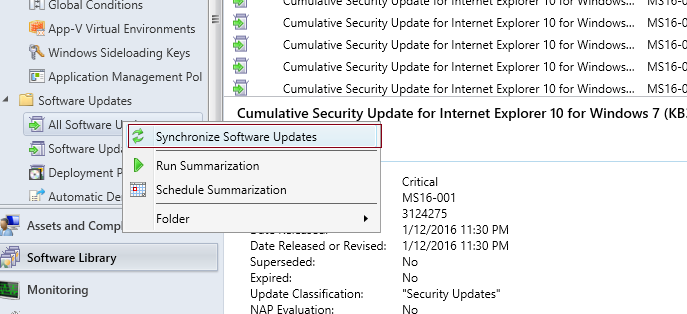
Now go to Software Library -> Software Updates-> right click All Software Updates -> click Synchronize software updates
Check for the Wsyncmgr.log
Make sure the Definition update for Microsoft Endpoint Protection 2010 availability in software updates . Once the WSUS synchronisation completes ,start the process of creating automatic deployment rule.


How to Create Automatic Deployment rule in configuration manager 2012 ?

Select  Software Library -> Software Updates -> Right click Automatic Deployment rule ->Create Automatic Deployment Rule.

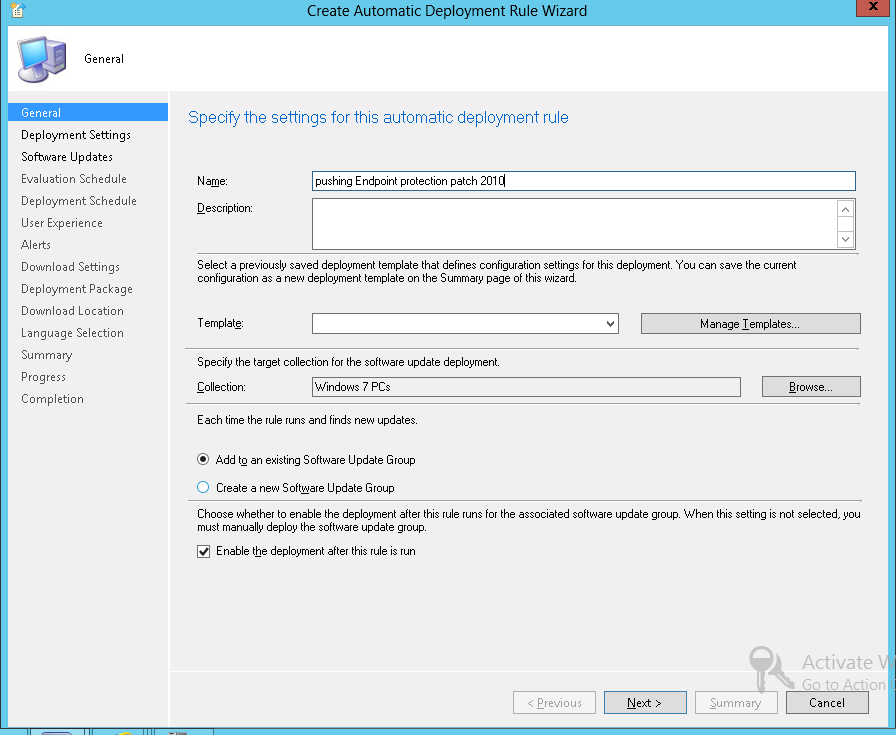
Name the Rule and select the collection that you are planning to push updates.
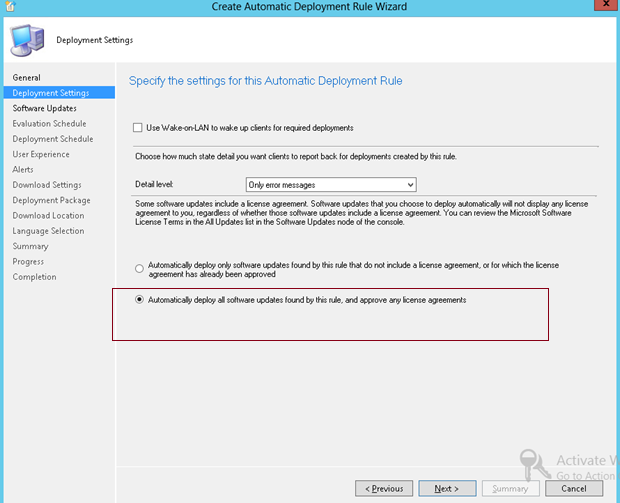
Select the option to Automatically deploy all software updates found by this rule,and approve any license agreements.
Click Next
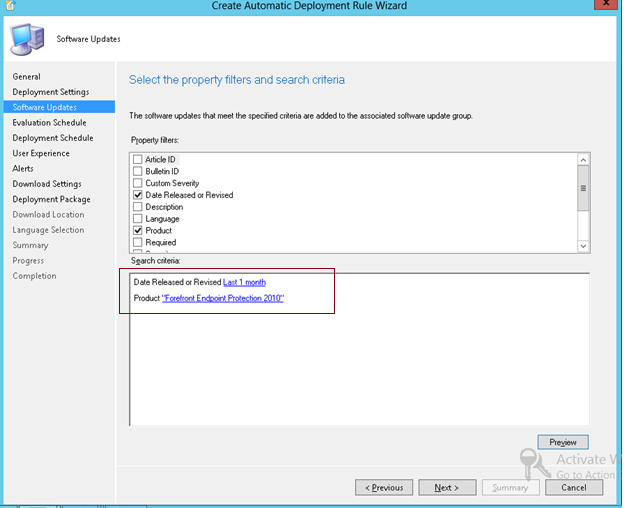
Select the property and search criteria as per our requirements.
Here, my intension is to deploy Forefront Endpoint Protection 2010 that is released in last 1 month. So, select set the corresponding property as highlighted in below figure.


Select Run the Rule after any Software update point synchronization.
Click Next
Click next and specify the schedule details for the deployment. Since this is lab environment, I have selected As Soon as possible.
Click Next
Select the necessary user Notification as per your requirements like, displaying in software center or hide in software center etc.
If you want to suppress the reboot after the update installation for workstation and server, please check the box appropriately.
Click Next
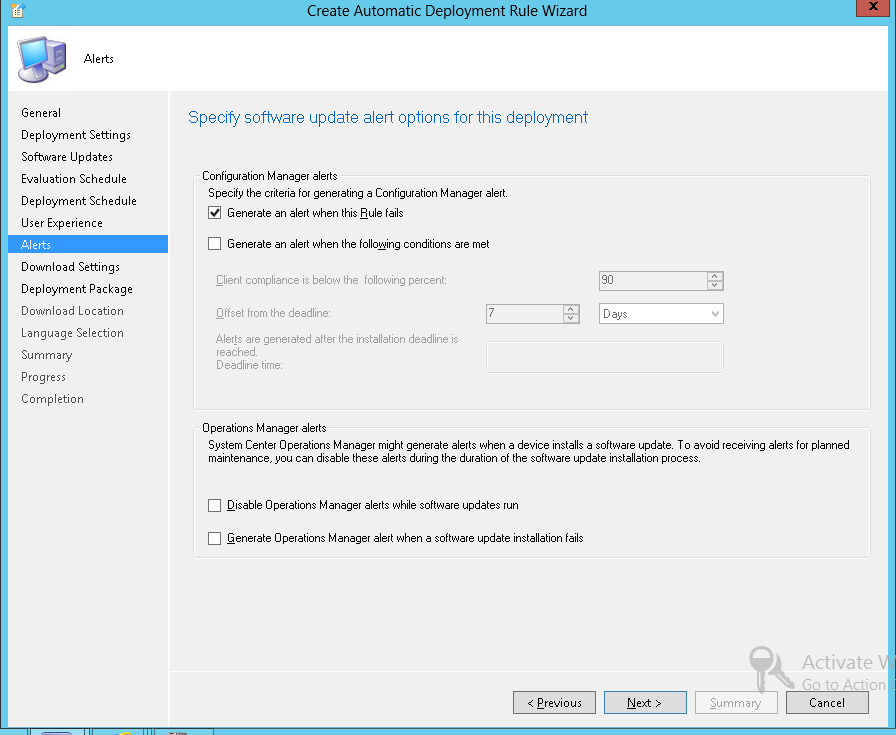
You can skip the alert column, if you are not interested.
Click Next
Select create a new deployment package and specify the source path for the package.
Make sure the source folder is shared.
Click Next

Select the Distribution group or Distribution point to distribute the package
Click Next
Click Next
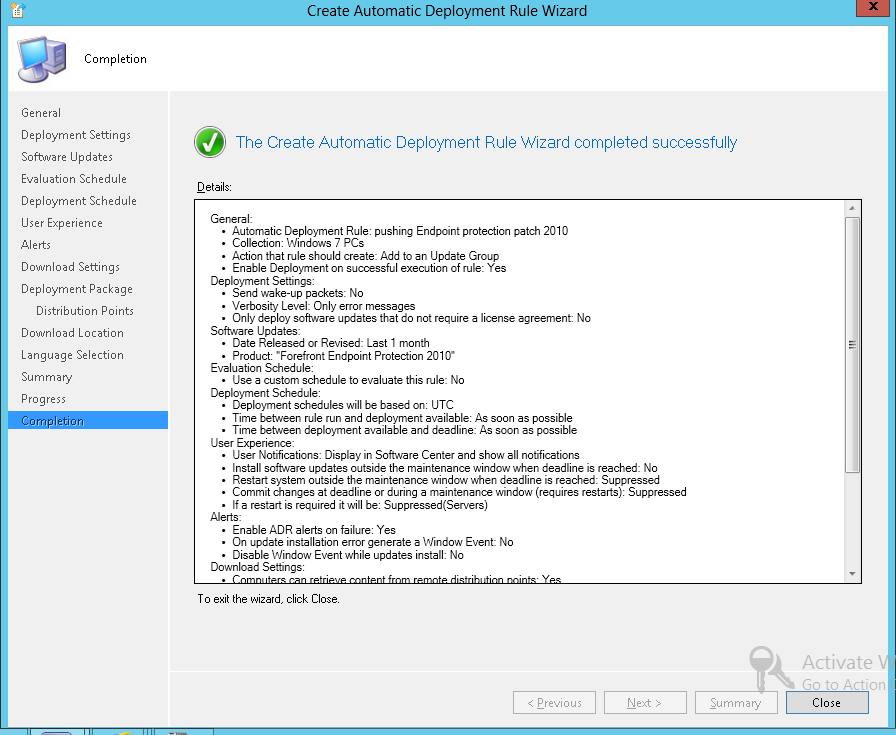
You should be able to see the green colour icon and the successful message for the automatic deployment rule creation wizard.
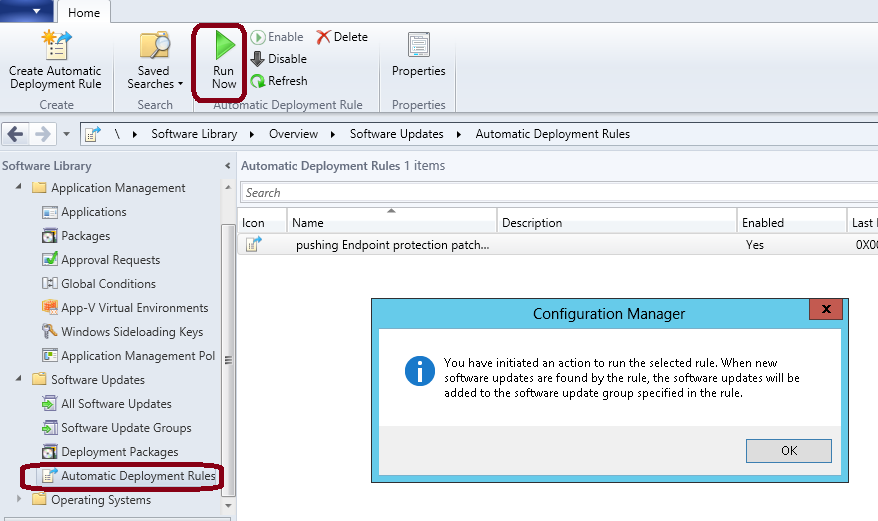
After creation of rules, click the rule and Run Now.
After sometime, you can see the reports in Monitoring -> Endpoint Protection status->System Center Endpoint Protection point.


Here we come to the end of "Endpoint Protection Configuration in SCCM".
Thanks Guys!

Translate

Total Pageviews

Blog Archive

Followers

Linkedin

Popular Posts